
First off, I need to clarify that this is not my design...I 'borrowed' it but am embarrassed to say that I can't remember the name of the designer, nor can I find a reference to it on my computer any where. I felt like it was in my card board on Pinterest but its not there. So...if anyone can point me in the right direction, I'll be happy to give her the credit she so justly deserves.
Supplies I will be using are Papertrey ink Kraft cardstock, Papertrey ink Rustic Cream cardstock, Epson Presentation inkjet paper, Tracy Ann Design Cake clipart, pearls and heart gems, Papertrey ink Chai ink, Glue dot mini's, Scotch Removable tape and Scotch double stick tape.
Here we go....Step 1:

this first step is extremely important to me....I always forget and it can be fixed at the end but is much easier to do at the first step. Here is where I add my logo to the back of the card. I have two files on my computer that have my logo saved on them. Each file is a different orientation, a side fold or top fold 5 x 7 card. This is my favorite size to make...I've always felt like the A2 size cards were too small and should be saved for note cards but that is just my opinion. This card is a 5 x 7 side fold.

I am using PaperTrey Ink's Kraft cardstock. This is a super nice, sturdy stock and makes a great base for cards. I'm using 8 1/2 x 11 stock.

Step 3:
Here is my logo coming out of the printer, ready to be taken to the cutting board.
Step 4:
My first cut is on the short side of the card stock. I make my first cut at 7.75.

Step 5:
I then rotate the stock and cut from the opposite end of the short side and my cut is made at 7 inches, thus giving me the 7 inch size of my card.

Step 6:
At this point, I take my card base to the my Scor-Pal. I lay the sheet long ways and score it in the middle at 5.5. I then fold and use my bone folder to crease the fold down nice and flat.

Step 7:
Now we head back to the cutting board and with the folded side on the 5 inch mark, I cut the excess off. The reason I do this in this way is because I get a much nicer cut edge if I score and fold first. If I had cut my card down to the size 5 first, I've found that when I score and fold, some times the edges don't match up properly. Now my card is 5 x 7 side folded.

Ready to start!

I open a blank page in CS4 and made a 5 x 7 rectangle. This isn't necessary if your dictionary pages are already yellowed but mine aren't and I wanted a more vintage, aged look to my page. I filled the rectangle with RGB 245 224 183. I then added my cake image from the digital clipart kit I purchased from Tracy Ann Design.
My sentiment used the font Suzy's Hand and was added to the right of the clipart cake, baring in mind that I was going to be printing this all out on a dictionary page. Now my document is ready to be sent to the printer.

Step 9:
My document has been printed on draft mode on plain typing paper.

Step 10:
I've chosen a page out of my dictionary. In this case, the card is for the lady that does my manicures, so I selected the definition page for manicure. Not something you would have to do but fun to see if they notice.
Carefully tear the page out of the book.

Here you will need removable tape and I use Scotch brand. It's double stick and comes off the pages pretty easy. I position my dictionary page over the printed draft sheet by using a well lit window (or if you have a light box it would work easier) and use the tape to attach it to the draft sheet. I will have some hangover that I will have to cut off.


Step 11:
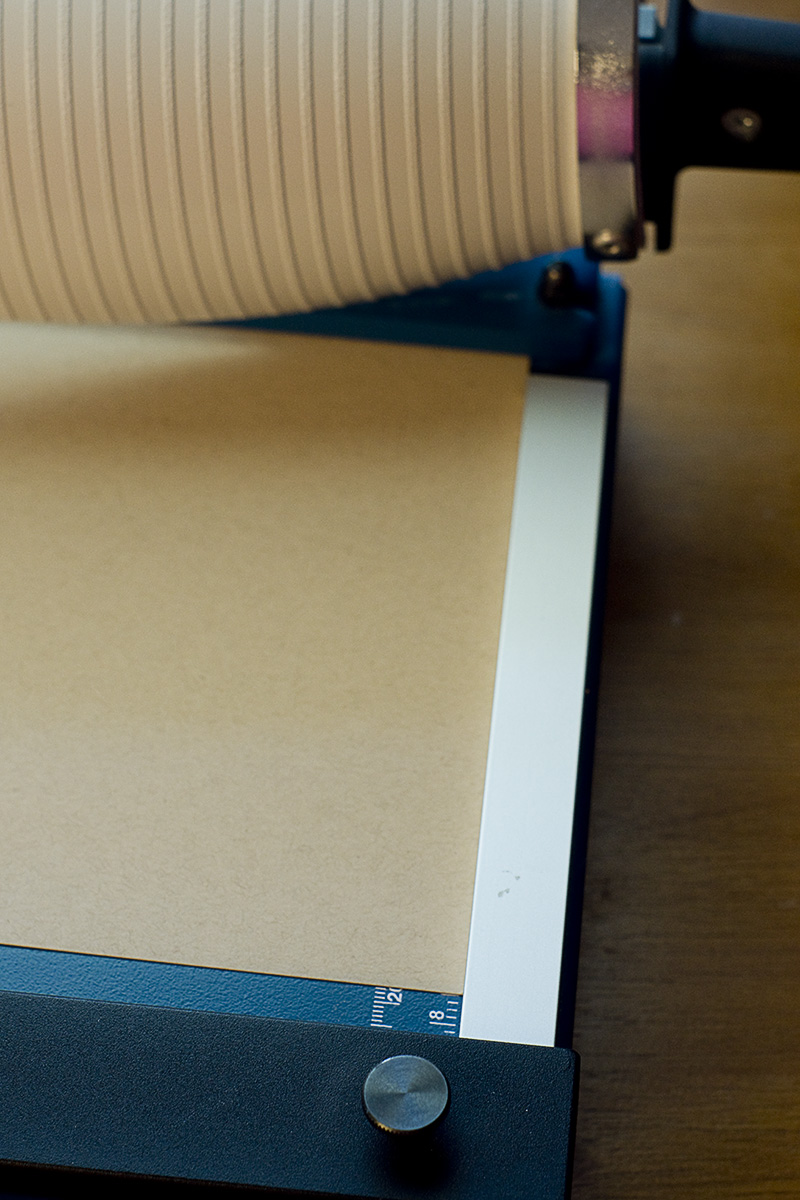
Ready to send the draft sheet with the dictionary page back through the printer. Be sure and turn your paper over with the dictionary page on the bottom before you load the page in the printer tray. Now, if you have a printer that doesn't reverse print (such as my Epson) be sure and place the side up that will be printed on. My Epson feeds from the top and the HP feeds from the bottom, so I have to beware of how I load my paper. The first image shows my paper upside down and ready to load in the HP.


and the second image shows the paper coming out of the HP with the image printed on top of the dictionary page. The next two images show me removing the dictionary page from the draft page and then just a shot of the printed dictionary page, ready to be cut down to size.


Step 12:
Cutting the mat and adhering the dictionary page to it.
I use Papertrey ink Rustic cream for my mat and its cut at 6.75 x 4.75, giving me 1/8 of an inch border around the card base.


Cardstock cut down to 6.75 x 4.75
Cutting the dictionary page is the hardest part for me to do or explain so that it sits good on the mat and leaves a 1/8 inch border on the mat too. But, I'll try....


At this point, I inked the edges of the dictionary page and the mat with Papertrey ink Chai ink and then added the dictionary page to the mat with Scotch permanent double stick tape. I just eyeball my placement and most of the time it comes out pretty good. Not always but most...
You will notice in the following images that I did not add this to my card base at this step but trust me when I say it would be a lot easier to adhere it now than once you have the embellishments on it. Just easier to put the double stick tape on now than later...live and learn...LOL.

I started a new document in CS4 and did a copy/paste from my first document so my cake images would be the exact same size. I copy/pasted 4 of them on a sheet and then printed them out.


As you can see from the above image, I fussy cut one whole cake, 3 of the yellow plates, 2 of the red layer and one of the white layer. I really need to get that Silhouette out of the box and learn to use it. If I can figure it out, I'm sure it would cut these images for me....just need to get my butt in gear and get it done!!!


For the rest of the layers, I use Mini Glue dots as the pieces are pretty small and I wanted a bit of a raised effect but not a big raise. I added the 3 yellow plates first, then the red layers and then finished with the one white layer. This gives the effect of the bottom of the cake being bigger than the top. Whew....are you still with me? Its a good thing this is a simple card!
Here is the finished decoupage on the dictionary sheet.

Here again, you could go ahead and add this to the card base now and it would be easier to run the tape gun down the sides. It's just when you get the embellishments on that it won't lay flat on the table and makes it harder to run the tape gun.
Step 14: Adding embellishments


Finally, the front of the card is finished. Well, almost...since I didn't attach it to the card base when I should have, I had to do it now.
Step 15: Adding inside sentiment and mats.
I didn't take a picture of this while I was doing it but I opened a new document in CS4 and added two 5 x 7 rectangles in the red and blue colors from the cake. I just took my eye dropper tool and sampled the colors of the red layer and filled one rectangle with it and then sample the blue layer of the cake and filled the other rectangle. I then printed then on Epson Presentation inkjet paper and cut them out. This is where I saw the difference in the quality of the colors compared to the HP print out. The Epson was much more vibrant and brighter than the HP. Just goes to show that you DO need to match paper to printer. I can't say if the HP would have done better if I'd had HP presentation paper cause I didn't have any but I was really impressed by the Epson print out.
I then cut the first mat at 6.75 x 4.75 and the second mat at 6.5 x 4.5 and adhered them both with my double stick tape gun to the inside of the card back. I then printed my sentiment out on cream inkjet paper and cut it at 6.25 x 4.25 and used one strip of double stick reposition tape to the top only. This way, if the recipient would like to re-use the card, he/she would only have to remove the sentiment sheet (which would have our name signed to it) and replace it with a new sheet.
And here is the finished product:...hope you have enjoyed this tutorial!


...


Good tutorial Mary. Easy to follow. You need to learn to use your Silhouette it would cut some time off you you.
ReplyDeleteThanks for sharing.
You are welcome....will get that damn cutter out of the box eventually....I guess I'm just hesitate of learning a new tool.
ReplyDelete